Machine embroidery is an art that takes some practice and patience to perfect, but once you get the hang of it, you can create amazing works of art with a machine! Before you jump in and start stitching away, there are some machine embroidery basics it’s important to understand.
Choosing an embroidery machine
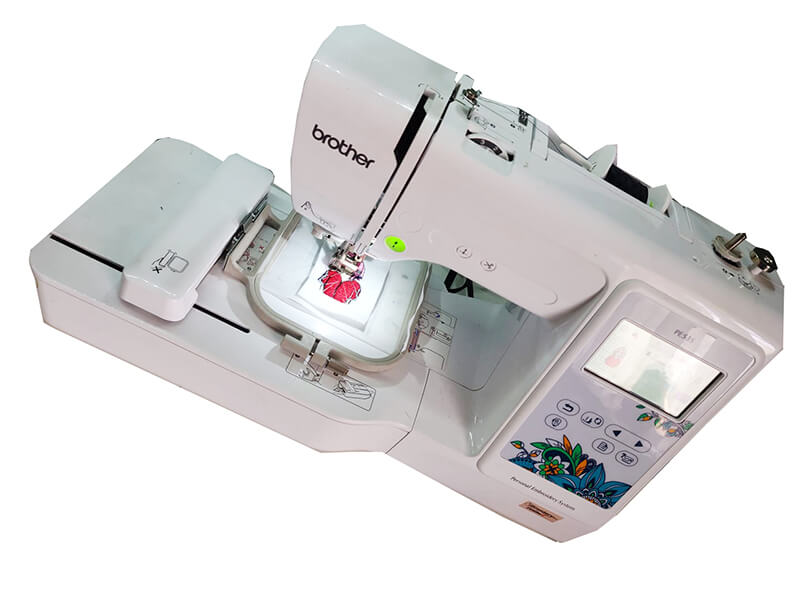
The first thing you need is obviously an embroidery machine. But choosing a machine can be a bit overwhelming. There are machines of all sizes, shapes, and price ranges. You should think about what you plan to use the machine for, how much space you have to work with, and your budget. Do some research to find out which type, size and brand will best suit your needs.
The least expensive option would be a single needle home embroidery machine. There are a lot of inexpensive options such as the Brother PE535. Getting a combination sewing/embroidery machine does not add much cost and offers the flexibility of being able to sew and embroider with one machine.
If you are really looking to save some money, there are a few clever ways to land an inexpensive embroidery machine.
Machine embroidery basic supplies
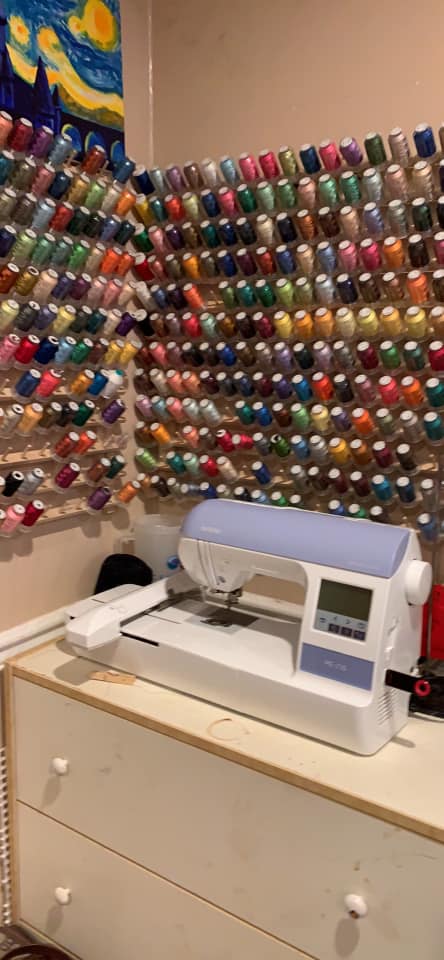
Once you’ve got your machine, you will need some basic supplies to get started. The most important ones are thread, stabilizers, and needles. You can order a lot of supplies on Amazon, or shop at a dedicated machine embroidery supplier.
Machine embroidery thread
Thread is the material that gets stitched onto your fabric with your embroidery machine. There are a lot of different types of threads you can use for machine embroidery depending on what look you’re going for. Polyester thread is the most widely used for machine embroidery. There are many brands to choose from, like Madeira, Floriani, and Isacord and practitioners have strong opinions about their favorite brands of machine embroidery thread.
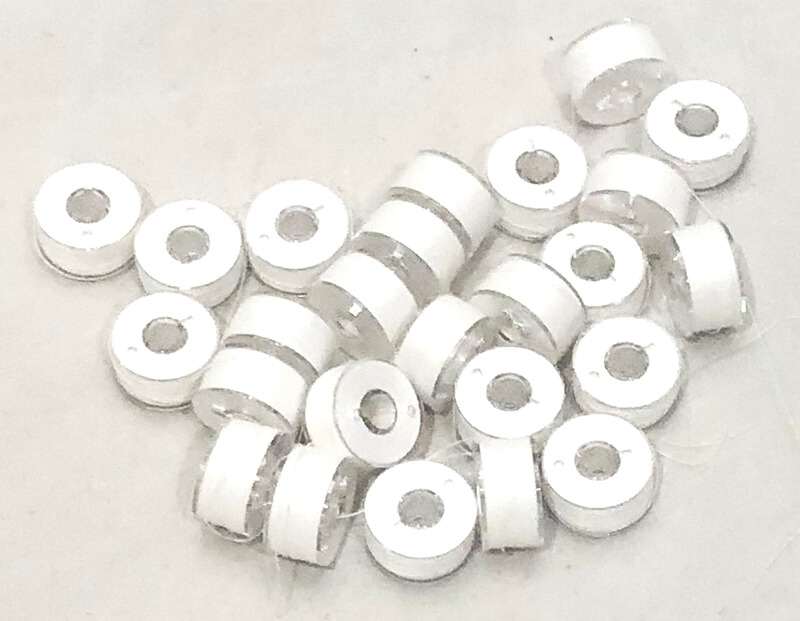
Machine embroidery bobbin thread
Bobbin thread is the thread that comes from the underside of your fabric. For machine embroidery, bobbin thread is a specific type of thread that differs from the thread on top. You will need to check your embroidery machine manual to determine what type of machine embroidery bobbin thread you need.
You can either wind the bobbins yourself or buy pre-wound bobbins. Pre-wound bobbins are more expensive but more convenient to use, since winding the bobbins takes time and can interrupt your work flow.
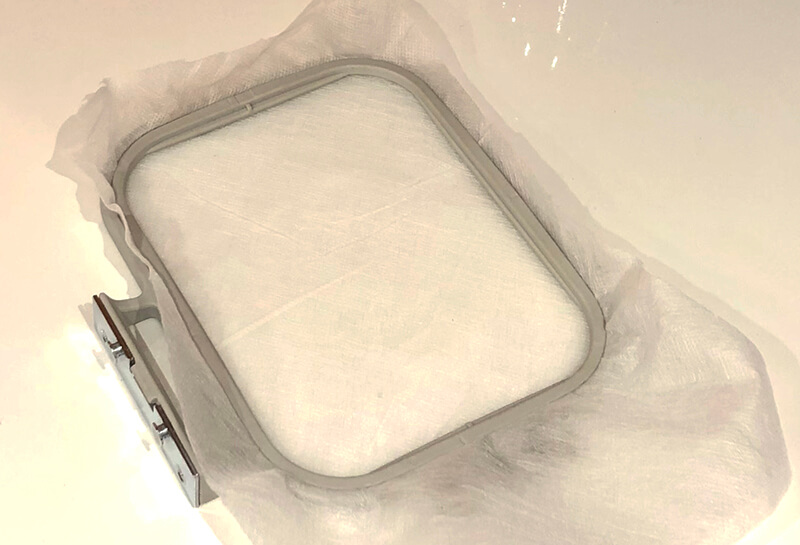
Stabilizers
Stabilizers provide support for your fabric and prevent the embroidery stitches from sinking into the material. Depending on what type of fabric you’re using and the design you are stitching out, you will choose a different type of stabilizer.
The three main type of stabilizers you will encounter are tear away, cut away and water soluble stabilizer. Tear away stabilizers are best for more durable fabrics. Cut away is better for stretch fabric and fabrics that will be frequently washed and dried.
One rule of thumb to follow when choosing between cut away and tear away stabilizer is “if you wear it – don’t tear it.” Most wearables require some form of permanent stabilization.
Water soluble stabilizer is necessary for free-standing-lace designs as well as many in-the-hoop projects.
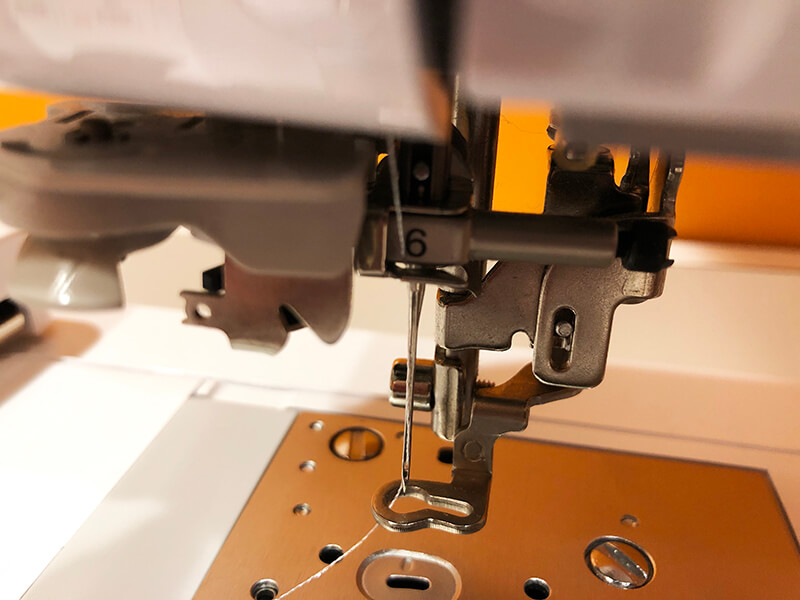
Machine embroidery needles
Finally, you will need embroidery needles designed specifically for machine embroidery. Machine embroidery needles are different from regular sewing needles, so make sure you get the right type. These specially designed needles have a wider eye that allows the thread to move through more smoothly.
Once you’ve got all your supplies, you’re ready to start stitching. But there are a few techniques that you need to master before you can start embroidering.
Basic machine embroidery techniques
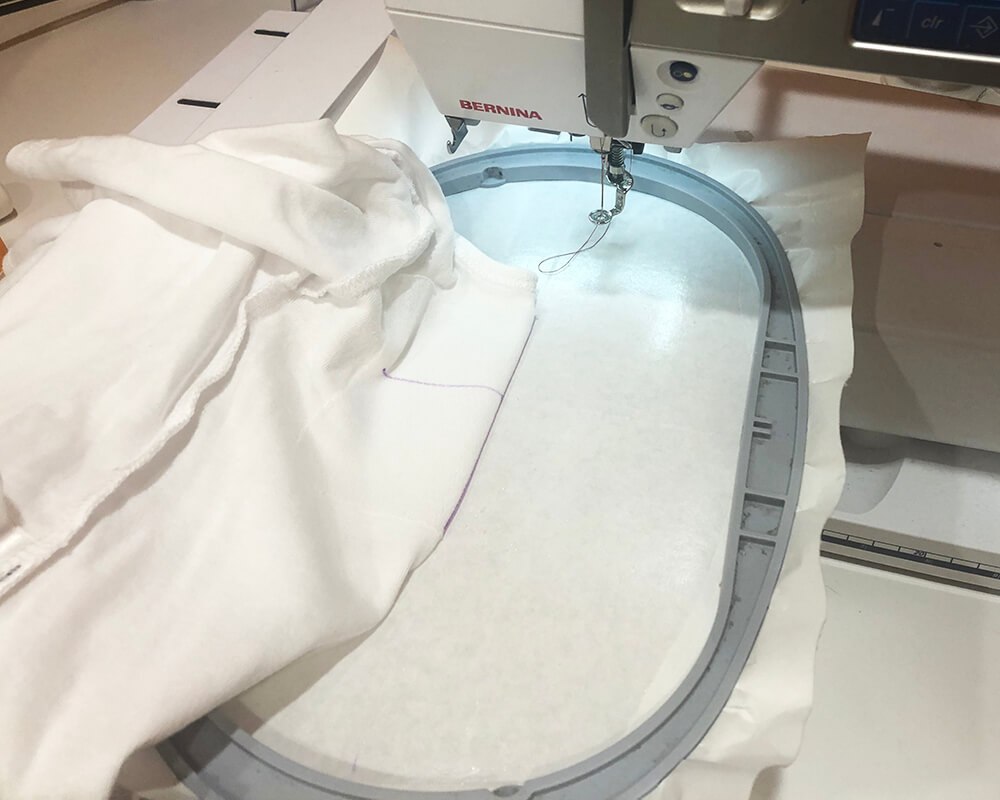
The most important machine embroidery technique you should master is hooping and floating. Hooping means using an embroidery hoop in the manner for which it was designs – meaning that the entire project is secured in the hoop.
Floating is a technique used when you don’t want to hoop the entire project. Instead, you will hoop the stabilizer and temporary adhesive spray (or sticky back stabilizer) to hold the fabric in place while you stitch out your design.
Whether you hoop or whether you float, you should make sure that whatever is secured in the hoop is taut so that the stitches are even and the embroidery is not distorted.
You also want to make sure you properly place your project in or on the embroidery hoop. Proper positioning of your embroidery on your project can be a bit of a challenge. I recommend a folding technique to help position a design on a project, but there are also many tools that you can use to help.
Mastering machine embroidery basics
I totally get how you can be a bit overwhelmed when starting out with machine embroidery. Machine embroidery basics are not difficult, but they do require a bit of practice and patience to learn. Once you’ve mastered the basics, you will be able to create beautiful embroidered projects with ease!
If you are interested in a course to help you get comfortable with your embroidery machine and allow you to embroider with ease, check out my course: Master the Machine: Learn to Embroider Like a Boss.
Good luck on your machine embroidery journey! I hope the articles that I’ve linked to on this page prove to be helpful.