Disclosure: Some of the links on this site are affiliate links. This means that if you click on them and make a purchase, I may earn a small commission at no extra cost to you. Please know that I only recommend products and services I trust and use myself.
When I first started digitizing, I experimented a lot with stitch density. I saw the setting right there in my digitizing software, but I had no idea what is should be and how the setting would affect the look of my embroidery design. Stitch density in machine embroidery is actually not a complex concept, but you should know what it is and how and when you might need to change it.
[do_widget id=custom_html-5]
What is stitch density in machine embroidery?
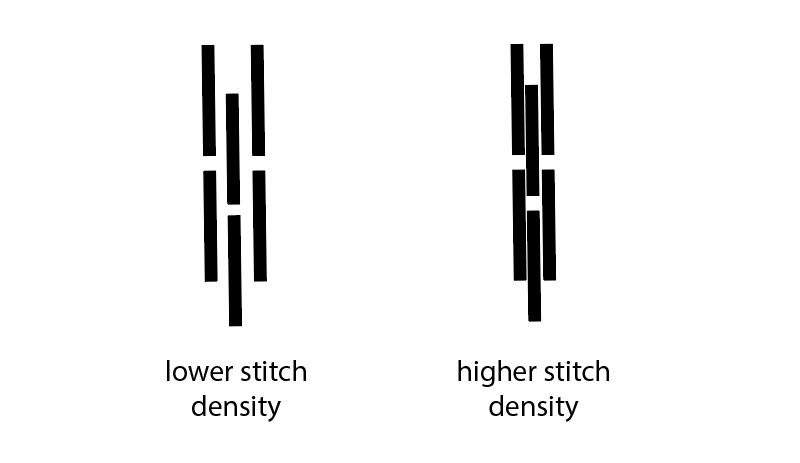
Stitch density is much like regular density. It refers to how many stitches are packed into a given area. A higher stitch density means that the embroidery machine will create more stitches and thus use more thread to cover a space.
What do the numbers mean when referring to stitch density?
Stitch density confuses some people because a higher number, does not mean a higher density. It is exactly the opposite: a higher number means a lower density. This is because the stitch density in machine embroidery refers to how far apart the rows of stitches are (in millimeters). So, the larger the number, the further the rows of stitching are from each other, and the less dense the design will be.
What is an optimal setting for stitch density?
I have gotten different advice on how to set the stitch density when digitizing machine embroidery designs. According to John Deer, author of Digitizing Made Easy, the optimal stitch density for designs intended to be stitched on a cotton broadcloth is .4
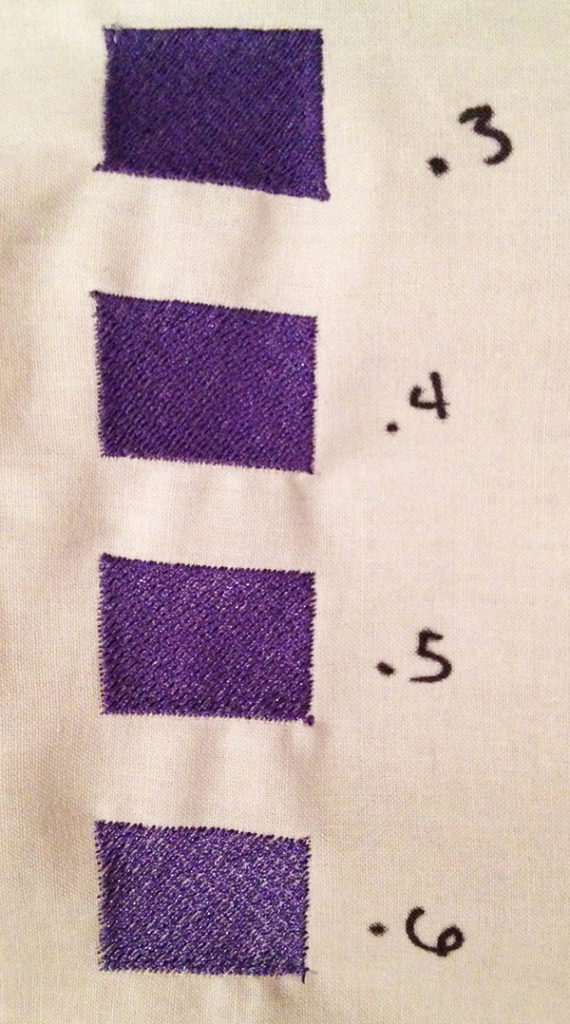
But, I wanted to really understand the look of different stitch densities. So, I decided to create a sample file of four of the same objects, each with a stitch density setting: .3, .4, .5, and .6.
In my resulting test stitch, you can clearly see the differences between each of these stitch areas. With a stitch density of .3, you can not see any fabric through the stitching. But, with a stitch density of .6, you can clearly see the fabric between the stitches. With this low of stitch density, the outside edges also look a big ragged.
I’m glad that I completed this exercise, because it convinced me that .4 is the optimal stitch density for object fills when stitching on a broadcloth type material.
What is good stitch density in a machine embroidery design?
You may be wondering, based on my test stitching above, why I settled on a .4 as the perfect stitch density as opposed to .3. Both appear to provide sufficient coverage over the fabric. Well, when it comes to stitch density, you are trying to achieve a happy medium. Of course you want good coverage, but you don’t want to stitch density to be unnecessarily high.
A high stitch density embroidery design has stitch holes that are close together. And this matrix of holes can cause tearing of the fabric, as the design basically cuts itself out of the material. Also, excessive density can distort the embroidery design.
Fabric properties and appropriate stitch density in machine embroidery designs
In some situations, you do want the stitch density of your embroidery design to be a bit higher than the standard .4 setting. For example, when digitizing designs to be stitched with a 3D effect using a foam underlay, you should raise the stitch density to ensure that the foam is fully covered.
Conversely, if you are stitching on a very delicate fabric, you may achieve better results if you lower the stitch density. It can help reduce bunching and puckering.
How can you change stitch density?
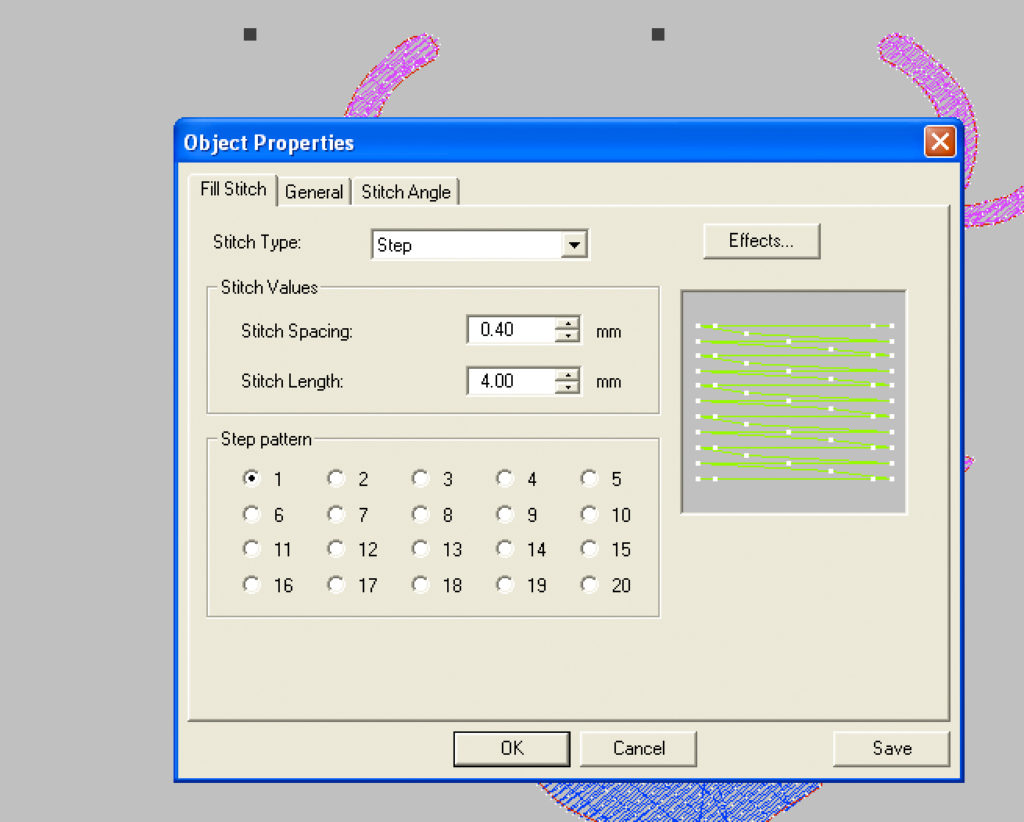
There are two different ways you can change stitch density. One way is precise, the other way is usually unintentional. For a precise change to stitch density where you actually specify a specific setting in an embroidered area, you must have a digitizing program. Every digitizing program allows you to control this setting, however it seems like every digitizing program calls it something different.
You can also inadvertently change stitch density of an embroidery design by scaling it on your embroidery machine. Embroidery machines allow you to stretch or shrink a design once you load it in. However, when you do this, you will actually be affecting its stitch density. Shrinking it down will increase the density, and stretching it out will lower it.
Any design you purchase and download will come with a fairly standard stitch density. The exception would be if you purchased a design specifically to be stitched on foam. 3D graphics and letters are digitized at a higher stitch density in order to cover the foam. So, if you want to change the density of a purchased embroidery design, you could ask the digitizer to make this adjustment for you.
Stitch density is not pull compensation
A setting within embroidery software that is often confused with stitch density is pull compensation. Stitch density refers to the distance between stitches. But, pull compensation controls the width of the stitches. Raising the pull compensation will make the length of your stitches longer. If you can see the fabric between the shapes, you may want to increase pull compensation
Stitch density is not always the problem
Sometimes people blame improper stitch density for poor quality stitch outs. But more often then not, the problem is how the item was stabilized. If the hooping is loose or not enough stabilizer is used, the stitch quality will be poor. You can also sometimes solve stitching problems by replacing your needle or adding a water soluble stabilizer on top. Until you try these solutions, I would leave the design’s stitch density as it is.
Good luck, my embroidery friends & happy stitching!
xo
Julie
[do_widget id=custom_html-10]
[do_widget id=custom_html-9]
Want to remember this? Save “What is stitch density in machine embroidery?” on your favorite Pinterest board.


I have a Bernina 830 machine and am told I need to dial back on stitch density when doing lettering. I do not know how to do this. Is there a utube that can show me?
I don’t know why the machine would matter at all in terms of density. And I don’t believe there is a setting on the embroidery machine that would control density. There are programs that will allow you to adjust density of a design though. One is the Embrilliance product: Density Repair Kit.