How to learn to digitize embroidery designs
This site contains affiliate links to products. We may receive a commission for purchases made through these links.
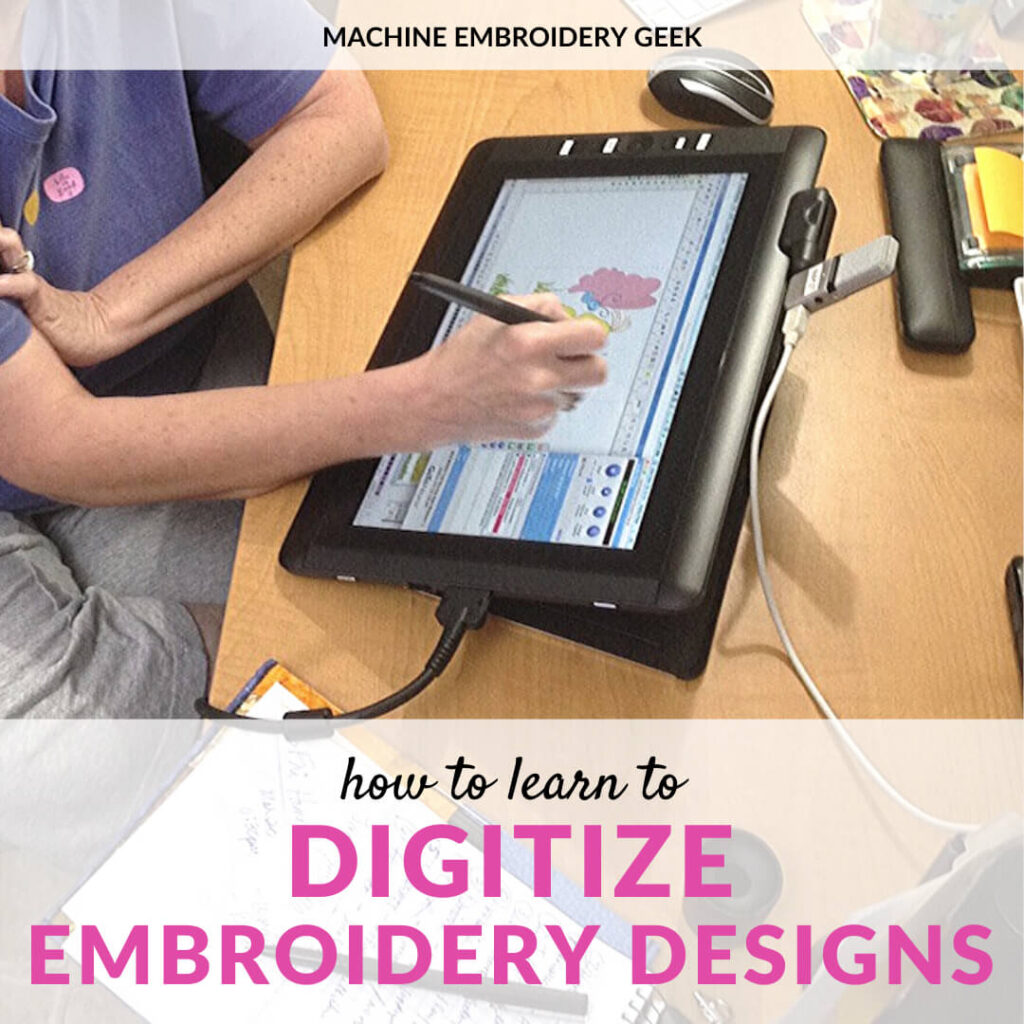
So you think you are ready to learn to digitize embroidery designs but not sure how to go about it? You need to talk to Larry and Holly Pike of www.digitizingschoolchannel.com . This superstar embroidery couple has been teaching embroidery digitizing for over 12 years.
I recently caught up with Larry who filled me in on how they got into the embroidery business. He also provided an excellent explanation of pitfalls of auto digitizing machine embroidery designs. And, he also explained why you should learn to digitize embroidery designs and how you can go about doing so.
In the following post, below, you will see Larry’s voice in italics. The non-italicized text is me.
Meet Larry and Holly Pike – embroidery digitizing educators
How did you get started in the machine embroidery business?
Our involvement with machine embroidery began in August of 2001. Holly was working as a systems analyst at the time. The job was highly technical, and she was looking for something to do in her down time that would be relaxing and fun and creative.
We wandered into a sewing machine store and a few hours later brought home a top-of-the-line embroidery machine as well as thread, designs on CDs, and software. While she was having fun stitching out the designs, she quickly became curious about making her own designs and started exploring the digitizing software. She quickly started focusing on the idea of making her own designs and selling them. While she learned to digitize, I learned how to build a website to sell her designs.
Our embroidery business grew quickly.
- Launched original wwwArtisticThreadWorks.com in August 2002 selling individual designs
- Changed ArtisticThreadWorks.com into a club format in May of 2004
- Started teaching digitizing classes in 2008 in hotel venues while traveling as full-time RVers.
- Opened digitizing lessons website at www.YouCanDigitize.com in October 2012
- To date, Holly has taught well over 1,000 people how to digitize including several dozen who are now professionals
- Now offer lessons on how to digitize here: www.digitizingschoolchannel.com
Learning to digitize embroidery designs and pitfalls to avoid
Most embroidery hobbyists use designs digitized by other people and are delighted with the creativity allowed by using those designs. But, when a person wants to make their own designs, there are a lot of pitfalls that can trip them up along the way.
One of those pitfalls is thinking digitizing means auto digitizing machine embroidery designs.
Auto digitizing
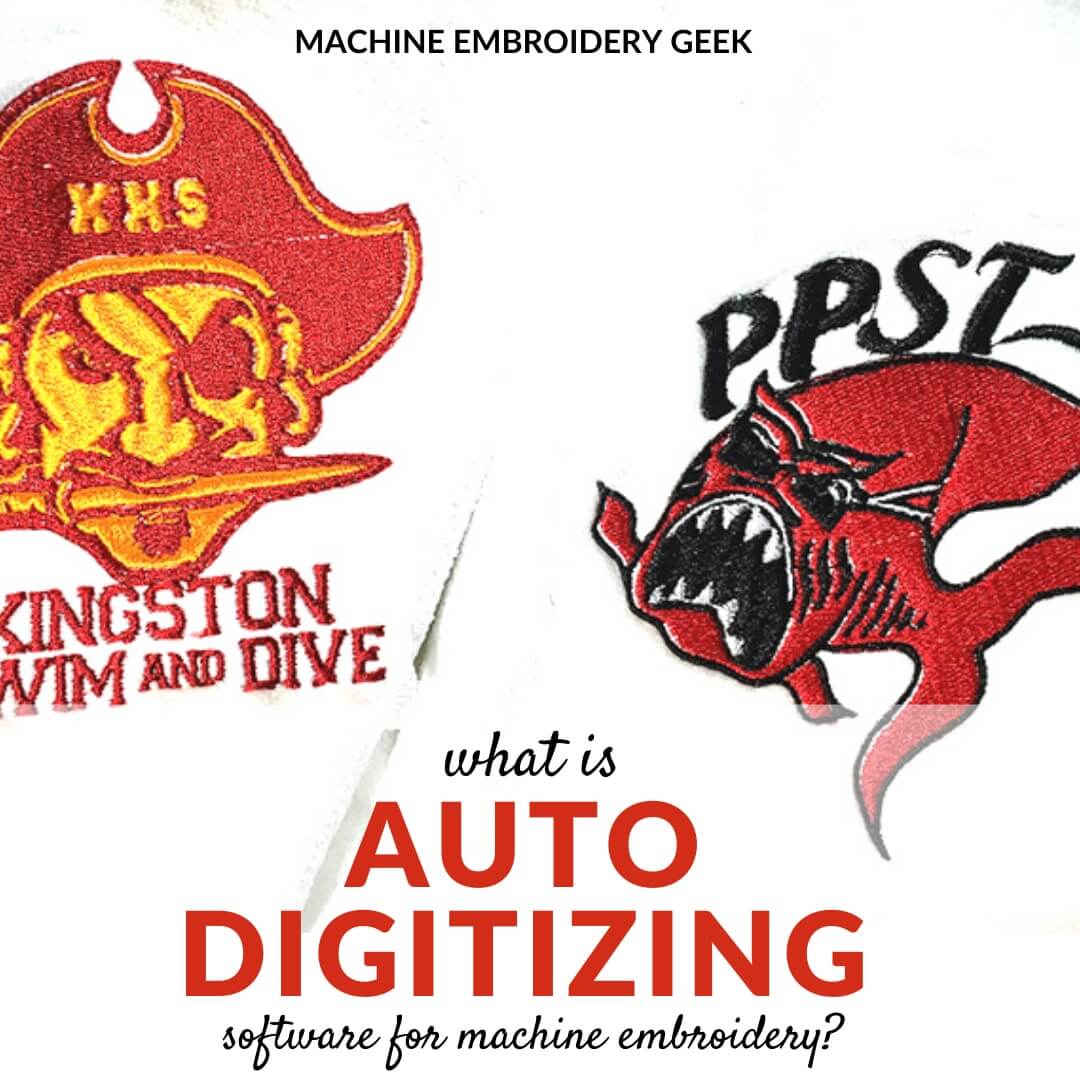
Potential digitizers are often shown a quick demo of the software automatically digitizing a design. Many digitizing programs tout auto digitizing. They claim that you just click on the picture and it digitizes it for you. What many potential digitizers probably don’t realize is that the picture being auto-digitized was carefully chosen to be the right type of picture for auto-digitizing software to be able to handle it. The vast majority of artwork is not that simple.
The basic way auto-digitizing works is to evaluate the size and shape of an object. Based on this assessment and some rules set up in the programming, it chooses what type of stitch to turn image into. For example, a big area of solid color will be made into an area fill. A long area that is fairly thin will be made into a satin stitch. And, a thin line will be made into a line stitch. The algorithm for making the decisions is based on size and shape of an area of solid color and in that case, it works.
Problems with auto digitizing
For instance, what would happen if the software tries to auto-digitize a photo of a person standing slightly sideways to the camera? In that case, the sleeve of their shirt closest to you will show up as a large area and get an area fill. The sleeve on the opposite arm is partially hidden and only showing a small crescent of the color so it will get a satin stitch. And, that is just fine if the only person looking at it had the same logic as the software.
But, a human brain is an association machine. A human will quickly notice that the two sleeves are a part of the same jacket and, as such, the stitch types should be the same on both sleeves. To humans, that design will look really strange!
Auto digitizing software limitations
If all you have is software that specializes in auto digitizing embroidery designs, then you’re stuck with how the software interprets that artwork. If you are digitizing it yourself, then you would already know that both sleeves need to be the same stitch type. With this knowledge, your design is already better than any auto-digitizing program can make.
Using non auto digitizing software
Clearly, you see now that learning to digitize involves much more than relying on the auto digitizing features of your embroidery software. You will need to use your brain to communicate to the computer how a design should be stitched out.
What is the best digitizing software to create embroidery designs? Why?
Holly uses Generations digitizing software to create her designs now. She chose that software because she tried just about every program on the market. She found Generations to be fast and efficient and to have the best tools for making serious designs.
For many years, Holly was the only digitizer in our business. she produced 200 to 300 designs every month year in and year out. With that kind of volume design creation, she needed software that worked with her and did it efficiently.

She tried all the programs from all the other sewing machine companies as well as all the non-affiliated programs. If there were a better program on the market, she would be using it today. Our primary business is still digitizing embroidery designs, and we want to get that done fast and right the first time. Holly found nothing on the market could compare with the features and tools she has in Generations, and she continues using that program today.
How to decide which embroidery digitizing software to buy
Everyone has their own preferred embroidery digitizing software, and there are a lot of different options that offer professional level digitizing capabilities. Fortunately, many of these programs have a free 30-day trial so that you can download them and try them yourself.
Another way of learning more about an embroidery digitizing program is to watch demos on YouTube. You can find a video demonstrating some embroidery digitizing technique using just about any program imaginable. This will allow you to actually see how the program works. You will also get a sense for the quantity and quality of tutorials out available pertaining to each application.
A great source for getting embroidery software recommendations is to ask around. There are loads of people in my machine embroidery Facebook groups who digitize, some who even sell their own designs. Ask them what software they use and why.
How do you recommend that students learn to digitize embroidery designs?
A lot of people OWN digitizing software but don’t know how to digitize. That’s because they don’t have someone to TEACH them how to use the software. The first question you should ask when considering which software to use is “who is going to teach me how to digitize with THIS software?”
The way you learn to digitize is to have someone SHOW you how to do something, then you DO it. Then you get feedback on how you did and ideas about what else you can do as well. Ideally that person is very experienced at digitizing and also at teaching. (I say that because some people are good at digitizing but are not skilled at teaching.) Holly has the unique background of being a trained professional educator as well as a very experienced professional digitizer.
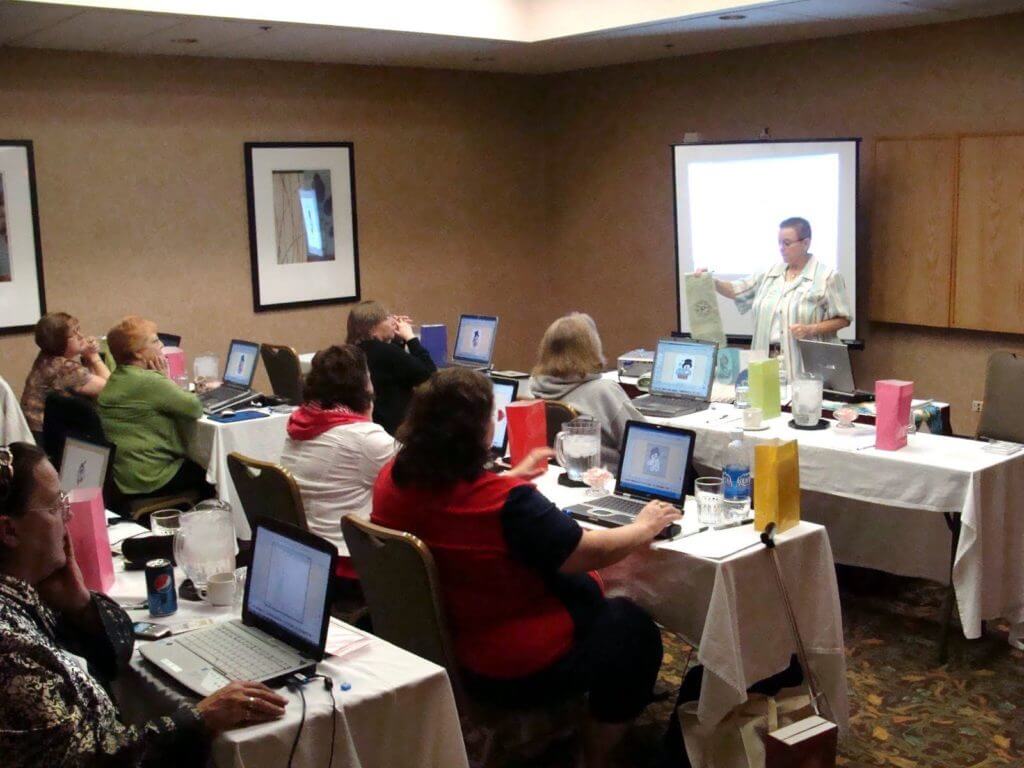
We currently have about 300 videos on our website teaching how to digitize with Generations software. A typical video is an hour long and has not only the lessons of how to use a tool or technique. These videos also include questions from the students who were watching that video as it was being recorded live in that webinar. We are still making video lessons about digitizing for our websites, and we have open Q&A sessions using Facebook LIVE every other Monday evening. Holly’s students can also post photos of their digitizing in our Facebook Group and get feedback from Holly and her team and other students. So, if you are wanting to learn how to digitize and you are interested in learning Generations software, I recommend they start with a visit to Holly’s digitizing education website.
What if I want to learn how to use a different digitizing software?
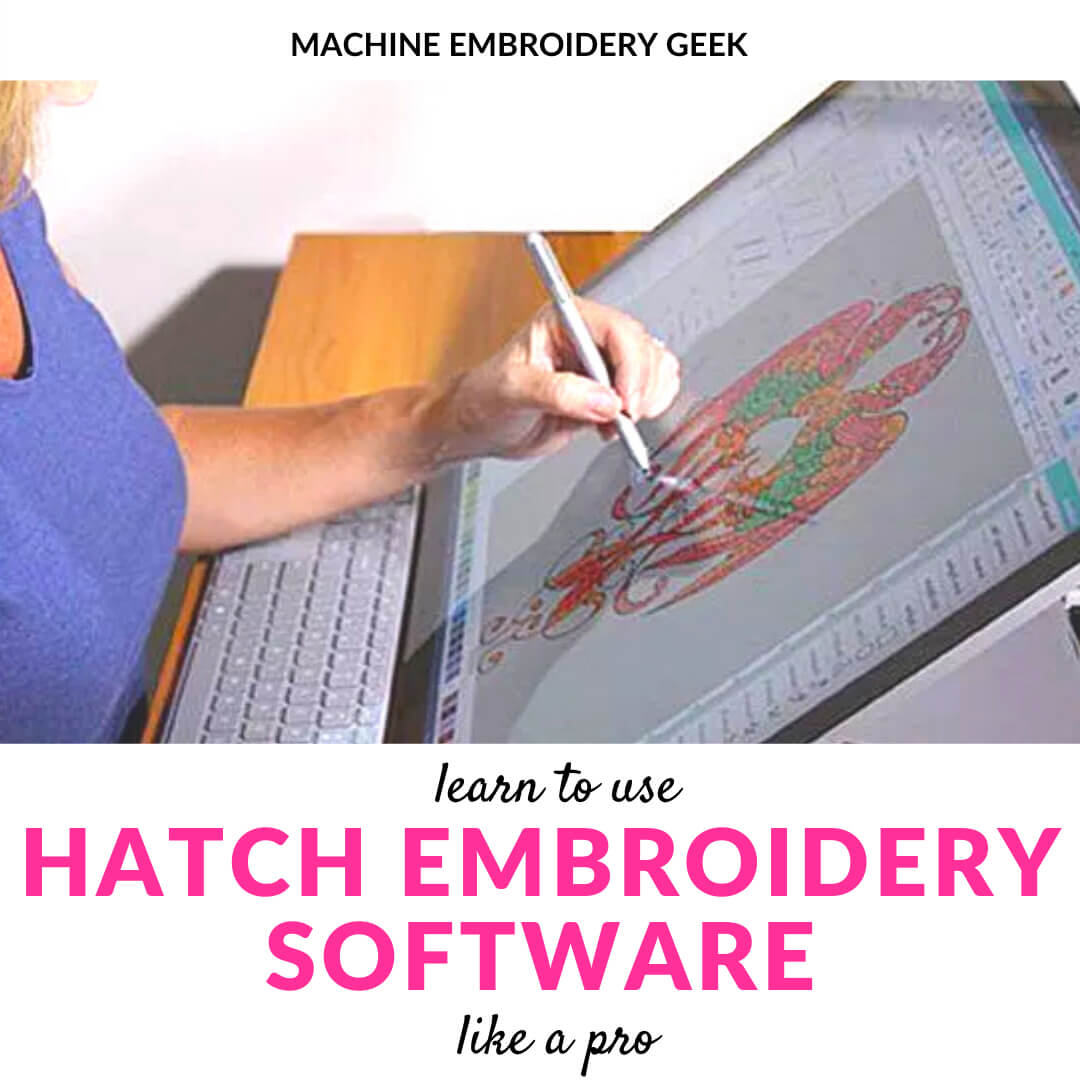
There are few software agnostic resources available that explain the philosophy of embroidery digitizing which I think are a worthwhile investment. For example, John Deer’s Digitizing Made Easy book, is a good place to start. John Deer’s company, Embroidery Legacy, actually offers some short, inexpensive, live webinars that teach you the basics of digitizing. While they use Hatch embroidery software, the techniques an be applied to almost any program.
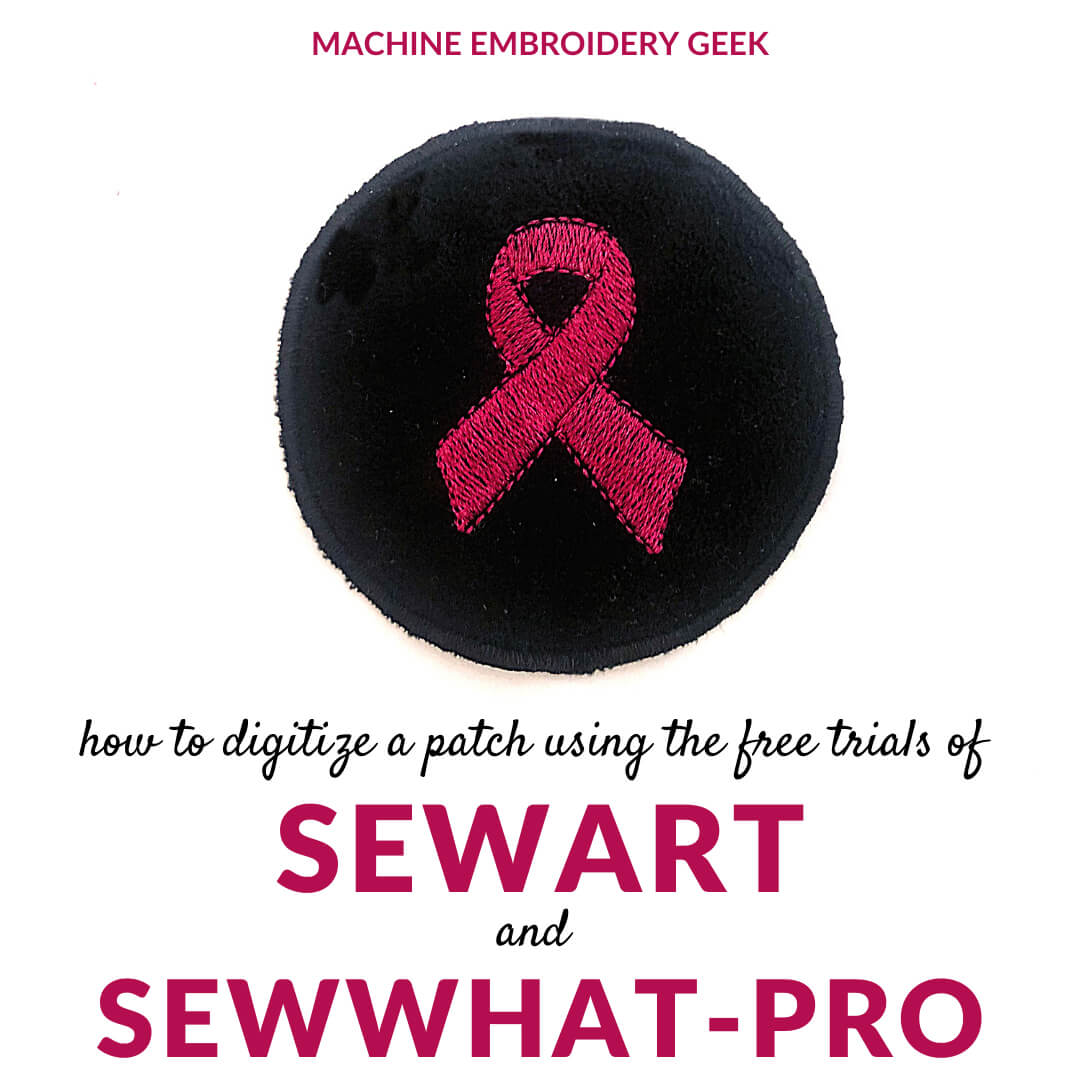
Once you decide which embroidery digitizing software you want to learn, then look for the courses specific to that program. For example, I created a course that teaches people how to use SewArt, SewWhat-Pro and SewWrite, a collection of beginner friendly embroidery programs.
I would suggest working your way through a course that specifically addresses the software you are trying to learn. Create designs, stitch them out, revise them and stitch them again. It is really just a matter of practice.
How long does it take to learn to digitize embroidery designs?
Everyone wonders that same thing when they are starting out in a skill based hobby. If they’re learning piano, it’s “how long before I can play _____?” But, with digitizing embroidery designs, the answer is this…
Your digitizing skills get better the longer your work at it. You can learn the basics in a few days. But, you can spend years becoming a master.
Holly used to teach a class called “Digitize In A Day” when we were on the road. We would rent a hotel room suitable for a small wedding reception and give a class. We would have people in the area interested in learning to digitize come in and spend a day in class learning and doing. By the end of the day they had all digitized several designs. They also had the basic skills of using all three of the primary tools (line, area, and satin). They also learned some of the special tools available in Holly’s software. We also made continuing lessons available on our website. Most of those students knew that with continuing education available they could get to whatever level of skill they desired. We still have some of those same students learning from Holly as much as 12 years later.
What strategies would you suggest for a student looking to improve their embroidery digitizing skills?
The best strategy is to find someone that is better at digitizing than you are and is also willing and able to teach you. If you have a local professional digitizer who is willing to give you private lessons then that’s probably a great way to go. On the other hand, if you don’t have that person sitting at your side, your next best strategy would be to look at Holly’s website and try out her program for learning to digitize.
If you learn to digitize embroidery designs, will it improve your embroidery?
Any time you’re exposed to others who share the same hobby, you learn something new. It’s the same way with machine embroidery. Hanging out and talking with others who do it will spark new ideas. You will get questions answered that you didn’t have before. Digitizers are embroiderers who make their own designs. I challenge your readers to come hang out with some of them and see what happens.
Thanks, Larry! I hope so too!
Learn more about digitizing with Holly and Larry on their website: www.digitizingschoolchannel.com





Hi, wondering if you can help me please. When I have digitised a photo, the actual embroidery pattern is not like the original photo, it is all crackly and blotches all over it, far from the original. I am working with Brother PE 10. What am I doing wrong?
Well – the problem is that a photo is comprised of millions of colors and that is just not possible to recreate with thread – unless you had a million thread colors of course. Before you digitize a photo, you need to reduce the number of colors in that photo in order to make it look right for machine embroidery. There are people who specialize in this type of digitizing. It’s not my bag, but probably if it were digitized more strategically – it might look better to you.
Hai I have brother V3 innos SE machine a wilcom e4 software and a lenovo laptop. Recently I have purchased a wacom one by pen tablet for digitising. But unable to use d pen. Can u pls help me using d pen tablet as I’m finding difficult in using mouse
I really think it’s just a matter of practice. It felt awkward to me as well until I got the hang of it.
I love vintage redwork designs. I have lots of hot iron on designs and was wondering if these could be digitized for me to embroidery on my Brother PE 800? If not, are there any vintage designs out there that can be used on my machine? I am new at all this. Learned how to hand embroidery as a child. Now I want my machine to do this for me. Any help will be appreciated! Thanks, Judy
Yes – I believe they could be. I am working on an article about digitizing redwork designs. Stay tuned.